A few months ago, I was invited to my little niece's birthday barbeque. Her mom made a few side dishes to accompany the grill meats...she made eggrolls, shrimp salad, and the green mango salad I am posting today. I've never had mango salad before and with my first bite full, I was in food heaven! The mingled flavors of sweet, sour, spicy, and fresh herbs...total delishnessss.

My plate. Piggy status!
Eager to learn how to make this wonderful salad, my cousin invited one of my other nieces, sister, and myself over one afternoon to show us how it was made. The dish I am posting today combines what I learned from her with what I normally add in my vietnamese salad dishes. Instead of just green mangoes, I'm also adding green papaya and carrots.
This is a very easy dish to make. The prep work, however, can be quite time consuming. If there are more people to help, it's very quick to throw together.

What you'll need (excludes seasoning/condiments)
- 1 pack shredded dried squid
- 1 pack Curry flavor Vietnamese Beef Jerky
- 1 green papaya (with a large one such as this, I would just use half)
- A few green mangoes
- Carrots
- Raw peanuts
- Tamarind seasoning
- Shrimp/Prawn Chips
- Garlic, shallots, thai chillis, vietnamese cilantro, and limes
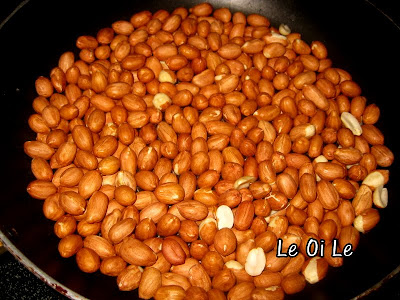 Pan roast the raw peanuts by adding it to a frying pan or skillet on med-lo heat.
 It will take the peanuts 10-15 minutes for it to roast, stir continually so that it does not burn in certain areas. When it is ready, the skin will be a dark color, start to crack and fall off of the peanut. If you decide to do some prep work while roasting the peanuts, make sure to keep a close eye on it.
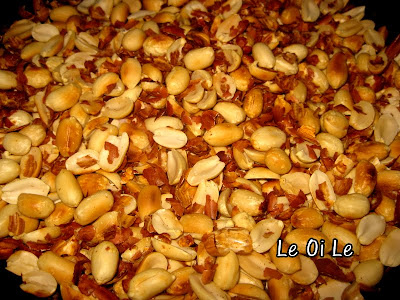 Remove from heat and let cool. When it's warm enough, use your hand to rub the skins off, revealing a nice light toasted brown color and a wonderful aroma.
 Take the pan outside and flip the peanuts like you would an omelet. With the breeze outside, the skins will fly out and you are left with the roasted peanuts...go ahead, have a taste! They're wonderful.
 When I was younger and saw my mom pan-roast peanuts, I thought to myself, why would she waste time doing that when she can just go to the store and buy dry roasted peanuts in the jar? Of course, now I know the difference...dry roasted peanuts just does not deliver the same flavor and results.
 One of reasons why this dish is so easy to make and why I make it so often lately is because of this nifty shredding tool that can be purchase at the asian market. It saves so much time! A must have in all kitchens!
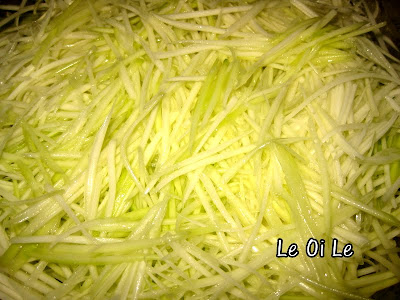 With the shredding tool, shred the papaya. Squeeze a lime over it and toss to mix. Set aside.
 With your hands, shred the dried squid even finer than what's in the package.
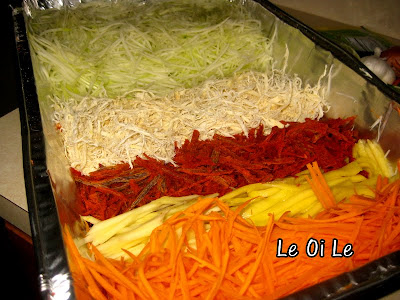 Continue with shredding the carrots with the shredding tool. With kitchen shears-cut the beef jerky up into thin, 2 inch long strips. Cut the green mangoes in french fry size strips.
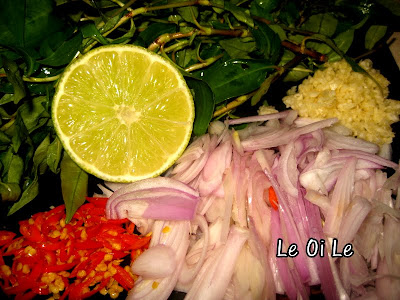 You'll need a few cloves of minced or finely crushed garlic, sliced shallots, more limes, thai chillies cut into small pieces, and Vietnamese cilantro (or your favorite aromatic herbs like mint, basil, or cilantro)
 Toss/Mix in a large mixing bowl or aluminum tray/pan: Papaya, squid, beef jerky, green mango, carrot, shallots, garlic, and chillies with some tamarind seasoning, salt, fish sauce, sugar and more lime juice. You just need a little bit of each of these seasoning ingredients because a lot of the flavor is already in the mangoes, squid and beef jerky. Don't over season because you will taste and adjust as you continue to mix the ingredients together.
Tip: The more papaya you have will require more fish sauce. *I like to add the seasonings a certain way...since the beef jerky and dried squid is sweet, I add the sugar to the papaya, I add the fish sauce to the mangoes, papaya, carrots, and a little over all, the tamarind seasoning and lime juice goes over all except for the mangoes since they are already tart. Get my reasoning for the seasoning? (Lame! haha)
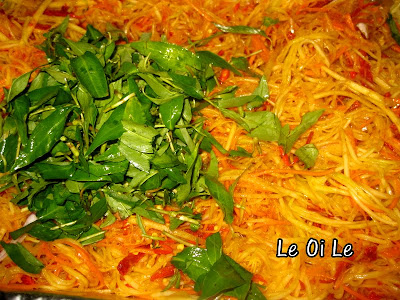 Once it suits your taste (more thai chillies for a more spicy kick, more tamarind seasoning or lime juice for more acidity, more sugar for a sweeter pallet), add the roughly chopped Vietnamese cilantro. Toss.
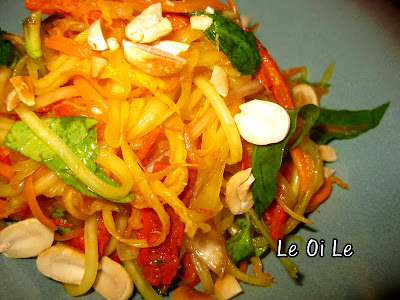 Once your ready to serve, add some of the chopped roasted peanuts that you made. I don't like them too finely chopped because larger pieces add a nice crunch.
 Optional: Fry up some shrimp/prawn chips
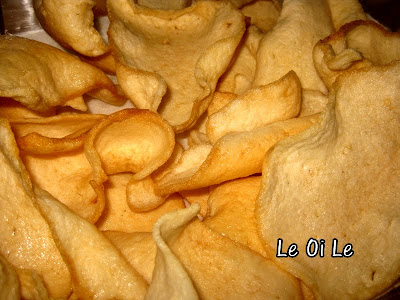 These stay crispy for quite some time.
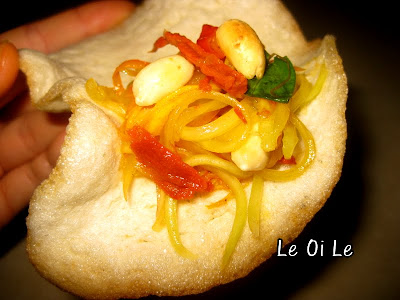 Dig in! Another great party/potluck dish to share. A balance of spicy, sweet, sour...soft, chewy, and crunchy textures. Enjoy.

